Foraging Sloes, Haws and Rosehips: An Autumn Hedgerow Walk
October 10, 2026 - Outdoors

October 10, 2026 - Outdoors
October 09, 2026 - Outdoors
October 05, 2026 - Crafts
October 04, 2026 - Crafts
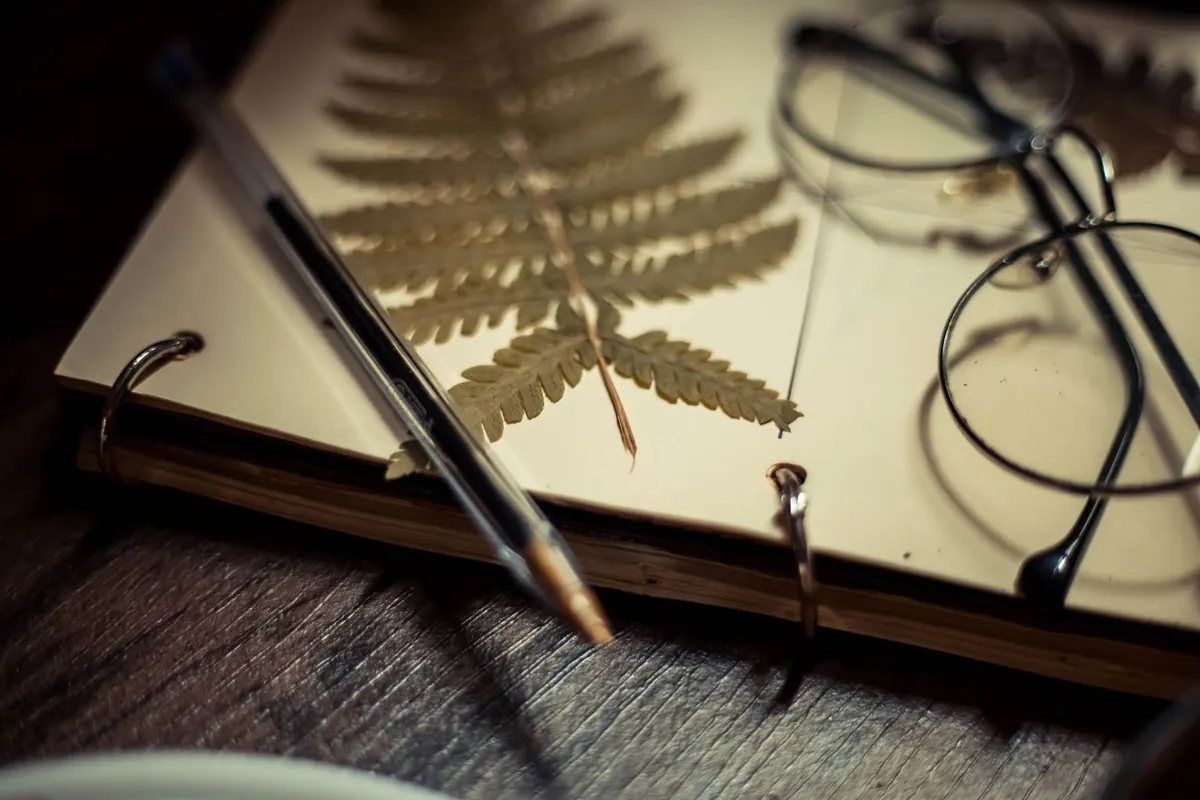
There is something quietly satisfying about opening a notebook and finding a summer afternoon pressed between the pages. Garden flowers keep their colour surprisingly well if you dry them flat, and a plain notebook cover makes an ideal canvas for them. You need very little to start: a heavy book, some absorbent paper and a bit of patience. What follows is a straightforward method for pressing blooms from your own garden, then turning them into covers and small gift sets worth giving away.
Flat, thin flowers press best. Pansies, violas, cosmos, cornflowers, forget-me-nots, nigella, sweet peas and single geranium petals all dry beautifully. Thick, fleshy flowers such as dahlias, roses and tulips rarely press in one piece — pull them apart and use the individual petals instead. Leaves, grasses and seed heads are just as useful: fern fronds, fennel, birch leaves and the delicate heads of nigella will give structure to a composition when you have plenty of petals but nothing to hold them together.
Pick mid-morning on a dry day, after the dew has lifted but before the afternoon heat. Choose flowers in good condition — a bloom that is already wilting or dropping petals will only disappoint you once it is flat. Take them indoors straight away and press them the same day. Left in a jar of water on the windowsill, they will carry on opening and you will lose the shape you wanted.
For daisies and similar flowers, try cutting the bloom in half down the stem and pressing it face down. The result is a neat half-flower that sits flat and looks deliberate rather than squashed.
A proper wooden press is pleasant to own, but a large heavy book does the job perfectly well. A dictionary or an old atlas is ideal, because the pages are dense and press evenly.
An iron on a warm, steam-free setting will dry small flowers in minutes: lay them between sheets of blotting paper and press, moving the iron constantly and checking every few seconds. A microwave works on the same principle between two ceramic tiles lined with kitchen paper, in short bursts with a rest between each. Both are useful when you need a flower pressed today, but the slow book method generally gives the best colour and the least risk of scorching.
Pressed flowers are brittle and fade in light. Keep them flat, dark and dry — between sheets of acid-free paper inside a box or folder, with a piece of card either side to stop them bending. Small flowers can go into paper envelopes sorted by colour, so you can find a blue in a hurry. Handle them with tweezers or a soft brush rather than your fingers; skin oils mark the petals and it takes almost no pressure to crush them. If you are organised, jot the name, date and where it came from on the envelope. In two years you will be glad you did.
Choose a notebook with a smooth, matte cover: kraft, linen or plain card. Glossy covers resist glue and the flowers will lift at the edges. Before anything is stuck down, lay the flowers out loose on a sheet of paper cut to the same size as the cover. This is the part worth taking slowly.
Simple arrangements work best. A single stem running diagonally across the corner, a small cluster low on one side, or a shallow arc of petals along the bottom edge all look intentional. Odd numbers of elements sit more comfortably than even ones, and leaving more empty space than feels natural is almost always the right call.
Stick the flowers down with a thin layer of PVA diluted slightly with water, or a craft glue applied with a small brush. Press gently through a scrap of paper so you do not tear the petals. To make the cover hard-wearing, seal it with a matte craft sealer such as Mod Podge, brushed over the whole cover in thin coats with time to dry between each. Alternatively, glue the arrangement to a separate piece of card and stick that to the front — easier to position, and if it goes wrong you have lost a piece of card rather than a notebook. Once everything is dry, write a title in ink: Sweet Peas, Summer.
One decorated notebook is a nice thing; three, with a bookmark and a few seed packets, make a proper present. Assemble a small notebook, a pressed-flower bookmark and a couple of envelopes of seed saved from your own garden, then tuck them into a paper bag with a pencil and a length of twine. Matching the ribbon to the flowers lifts the whole thing.
For the bookmark, press one or two flowers onto a strip of card, leave a margin at the top, seal both sides, punch a hole and thread a ribbon through. Add a small tag listing the flowers used. If you have pressed more than you need, a set of plain cards with a single bloom on the front is a good use for the leftovers, and makes a sensible gift for someone who does not need another notebook.
Pick a single bloom this week — a viola, a stray cornflower, a sprig of lavender — and press it between the pages of the heaviest book you own. Label it if you can be bothered, and leave it alone. By the end of the season you will have a drawer full of material: enough for a notebook cover, a handful of bookmarks and a few gifts that cost almost nothing and mean rather more than something bought. The garden keeps producing; the pressing simply gives you a way to keep a little of it on the shelf.
Photo: Wallace Chuck / Pexels
A seasonal guide to spotting sloes, haws and rosehips in British hedgerows, picking them without stripping the bush,...
A beginner's tickable guide to the most common UK garden birds, pairing each one's markings with its call and the...
October 10, 2026 - Outdoors
October 09, 2026 - Outdoors
October 05, 2026 - Crafts
Copyright © 2026 Sprig Page. All Right Reserved.